Wednesday, June 29, 2011

Christmas in July

Procrastination, anyone?

Here are some Christmas presents I made this year, that I guess have taken a while to post about. Yeah, that's how I roll.

I decided to do sets of crocheted coasters as gifts last year, with varying color schemes personalized for each recipient. Each coaster would have a solid color base and a crocheted lace doily applique of a unique pattern which were adapted from various snowflakes I found around books and the internet; adapted enough to not look too seasonal. The yarn I purchased was acrylic for the base and cotton for the applique, so entirely machine washable, and heat tested to make sure they had no problems with hot mugs. Then I found little metal tins which would hold each set.

White on beige for my father and stepmother, since it's a classical color scheme she prefers.


White on blue for my aunt and uncle, since blue is her favorite color.


Red on black for my grandparents. I inherited my preference of red from my grandmother, who takes her love to a marvelous degree. These would fit right in with her decor.


A marvelous success! They turned out just as I had hoped.

Tuesday, June 14, 2011

It's Raining Rainbows

Congratulations Boston, on a wonderful Pride 2011! I did my part volunteering in the parade: getting soaked in the rain and hoarse from all the shouting. It was a total blast, and to cap off the end of the festivities, I needed to be sure to have a dress to drool for.

Enter this glorious pattern from Vogue:

V1227

It's soooo 80's. I just can't stand how marvelous it is.

The next step was the fabric. I ended up choosing a striped calico from Joanne's, about as close to a rainbow as a national chain store can get. I suppose I could have considered attempting that craziness that is "matching of obvious stripes" but the fabric was expensive enough -- I wasn't going to go overboard.

Then came the cutting.


And cutting.


And more cutting


You see, Vogue patterns turn out gorgeously. They hang like a dream. They're also really complicated and involve multiple pieces. This particular pattern required 17 individual pieces, most of which required 2 pieces of outer fabric, 2 pieces of liner, and 4! Count them, 4! pieces of interfacing (note: the exclamation point is just for exclamation, not the mathematical operator of factorial)

But I persevered. And then, of course, despite the fact that I confirmed my measurements ahead of time and was careful to use the right seam allowance, the dress didn't fit. Good thing for corset-style, however, it was relatively simple to alter.

And boning! Did I mention the boning? I don't think I've had the patience to put up with boning since 2004. Yikes.

But you know, it does hug the bosoms quite flatteringly


All that hard work turned out spectacularly, if I do say so myself. I wore it to the final night of Pride, and got so many compliments from random strangers to put a smile on my face till same time next year!


Happy Pride, everyone!

Thursday, May 19, 2011

A brand new person to make stuff for!

Congratulations Susan and Eric! My nephew James Kelley Laird was born on Monday, May 9th at 7:14 am, and was 7 lbs 9 oz.


Now I know you must be thinking, "Holly, you must have been working on making baby things for MONTHS by now! There's no way they'll all fit in this blog!!" Well, unfortunately you are incorrect. I've been crazy-busy with studying for finals and rehearsing for the opening of the most amazing musical ever, so I arrived in New Jersey for my first visit with James without a stitch to show for him.

A mistake which was quickly remedied.

Eric had wanted to do a plaster impression of his tiny little baby feet, so we got to work on that.


Now James isn't much of a complainer, but he certainly squirmed a fair amount, and even with his big brother Greg's help, the footprints got a bit smudged.

We poured the plaster of paris over the gel mold of his tiny-winy-wibby-wubby feet (I couldn't resist just one ridiculous baby-talk-extravaganza), and then we waited. And then my materials engineer brother realized that plaster and ceramic are far too similar to enable an easy separation of their interface. Whoops.

So after many, many hours of Eric scouring the edge of the plaster with toothpicks, we were able to extract the mold, and enjoyed the results! Huzzah!


Eric has decided to tell James, when he's old enough to wonder why his left foot looks weird, that he had a club foot and required extensive surgery to look like a normal human being. This strangely enough reminded me of stories my dad would tell me when I asked him probing questions. Clearly Eric is already showing signs of great paternal aptitude.

Then I proceeded to crochet James a monkey hat and a pair of baby boxing gloves. You know, I never really played with dolls when I was a kid. I have decided that this is probably because dolls don't make the incredible squirms and grimacing faces when you wake them up from their nap to play dress-up and do photo shoots.


I love you, James!!!

Sunday, January 2, 2011

Christmas Wreath

I was suuuuper excited about Christmas this year, and was fantasizing about decorations weeks ahead of time. This is not a particularly unique thing for me, for those who have read last year's Christmas entry in my oil rig blog.

Over my Thanksgiving visit, I perused a book my stepmother had lying around, Christmas Decorations from Williamsburg's Folk Art Collection. In it was instructions for creating a wreath decorated with seashells, and I knew it was a perfect beginning to start the decorating bonanza!

I made it in honor of my grandmother, Louise Kelley Rochester who passed away this past January. This is our first Christmas without her, and it was especially meaningful to me to be able to use seashells from her collection for the wreath.


She had THOUSANDS of seashells.


I ended up only using the idea from the book, and basically making up the rest as I went along. I bought an overpriced styrofoam wreath base (with a coupon), and wrapped it in ribbon left over from my brother's wedding.


Then I used a hot glue gun and just went to town!


As I was just about finished, I started to panic. Absolutely panic. It looked like a crappy wall hanging you might see at a beachside drugstore for $4.99 or on the wall of a rented condo in Ocean City. All of a sudden I was filled with remorse for not predicting and preventing this.


Dejected, I took my mom's advice and just finished the darn thing and hung it up.

And then something magical happened...


It looked absolutely perfect hanging from our front door with a sprig of holly (natch) and a bow. It didn't look kitchy it all. Instead it looked absolutely at home and utterly lovely.


It didn't quite match the rest of the Duxbury wreaths of green pine branches and red velvet ribbons (I'm not kidding. EVERY house has them) but then our door doesn't face the street so I don't have to worry about offending the neighbors with my uniqueness, haha!

Thursday, December 30, 2010

Forging

I luuurve crafts. I especially luuuurve historical crafts. So it was only natural that when I saw an advertisement for historic blacksmithing classes two days ago that I started freaking out and hyperventilating with excitement. So first thing yesterday morning, I logged onto the website of Prospect Hill Forge in Waltham, MA and spent the next hour perusing their pages.

What do you know, but they were offering a 3-hour introductory class THAT VERY EVENING!!! It was fate. I yelled across the kitchen table to my brother, who is currently visiting for the holidays, and we very quickly booked two places in the class. As it turns out, my brother has always wanted to try his hand at blacksmithing since he was a small boy being dragged to historic site after historic site by our parents.

There were a total of three of us in the class, and coincidentally we each had a degree in mechanical engineering (Although our classmate, David, was the only currently working in industry). The task was to make an "S" hook out of 3/8" square iron rod. The instructor gave us a demonstration, and as soon as that was complete we were each assigned a forge and an anvil and set to work. I was assigned to the one forge whose ventilation system was run by hand-crank instead of an electric fan. This actually turned out to be an advantage because I was less likely to overheat and oxidize my iron. Plus it was kinda fun to turn the hand crank.

We started by heating the center of the rod to twist it. We then made a taper on one end, chamfered the square corners, and and curled the point of the taper. The first half of the S-curve was completed by making the hook. After that, we cut the stock to a symmetrical size and repeated the process to complete the S-shape.

The results speak for themselves:


GUESS WHAT?!!?! I MADE THAT!!!!

A closer view can show the distinct improvement in my tapering technique between the first hook and the second. It was amazing to see the progress that I was able to make in the course of only a couple of hours! The dents were due to bad hammering, the blemishes were either from overheating or not brushing the oxidized iron off enough.


Here are Eric's and my hooks upon completion. Eric is going to use his to hang his bicycle in the garage when he gets home. I will be hanging mine somewhere as a decorative piece, likely without any function to it. We'll see where it ends up!


Eric and I returned home with filthy hands, smudged faces, sore muscles, and an amazing sense of accomplishing the same task that our ancestors have been doing for thousands of years.

Wednesday, November 10, 2010

The Art of Procrastination

I’m sure it’s a common thing for many people in the surge of creative motivation to pick up a long and daunting project only to lose steam after a the first few hundred stitches, cuts, knits, purls, etc. I personally make a perfect poster child for such a demographic. I get excited about new projects with great rapidity. An idea will strike my fancy and I will pursue it diligently … for the first few days or so.

Then something will happen: I’ll hit a frustrating obstacle, get distracted by work or social obligations, or simply get bored and whatever I happen to be doing will simply fall to the wayside. If I’m really inspired, I’ll pick it up again in a week or two when I have a chance. This rarely happens. Most of the time it will sit on my sewing table or my dresser or hanging off the ironing board until a monthly clean will see it folded and put it away in a drawer somewhere. Wherever I live, I usually keep a drawer whose unofficial name is “to-do when I get around to it-drawer”. Needless to say, it rarely gets opened.

Quitting my job in the oilfield this past April seemed to have a beneficial effect on my productivity, and while my two weeks’ notice were ticking by I dug through my then 3 accrued “to-do when I get around to it” drawers and pulled out the mother of all set-aside projects. There is a lot of background story that goes with this mother, so now might be a good time to make yourself comfortable.

Back in 2006 I was ill-advisedly talked into costume designing the MIT Musical Theatre Guild’s summer production of Sweeney Todd entirely in “steampunk” Victorian era, years before I even knew what “steampunk” meant. In addition to waistcoats, cravats, blouses and petticoats, I constructed six or seven full Victorian gowns complete with gi-normous bustles and big, poufy trains.

photo credit Jax Kirtley

This show involved more construction than nearly all the rest of my productions combined, and I recruited my assigned costume crew, talented friends, and random freshmen just arrived on campus to help me get it all done in time. Eventually, and after very little sleep the costumes were finished, the show looked beautiful, and my mind quickly turned to considering projects for myself.


I had enjoyed costuming Sweeney Todd for the practice it gave me in constructing period Victorian outfits. I kept the dress pattern I used, and with the “bustle pillow” the entire cast had signed and presented to me for my crew-member gift, I had the beginning pieces to make a full dress of my own. Hours of shopping later, I had a full set of fabrics, linings, lace and tasseled edgings, and all the notions necessary to make a beautiful costume.


It was almost a surprise it took me as long as it did to set this project aside. I worked on it continuously throughout the month of September, and finished the most difficult part that month: the bodice. It was roughly that time that the school semester got busy, so months passed before I made an attempt to pick up where I had left off. Most of the big pieces were partially assembled, like the bodice (minus the sleeves), but none were actually completed.


When I moved out of my apartment in Somerville and into the student housing in Boston, it came with me and wasn’t touched. When I moved down to Louisiana after graduation it came with me and wasn’t touched. I bought a whole new set of plastic storage drawers to contain it and the remainder of my forgotten projects and there it sat in my closet in Lafayette for years.

With my oodles of free time I had all the tools I needed to pull that mother back out of her drawer. Components had been lost, and pieces had been confused, but I managed to take stock of what I had and what I needed.


I began by fixing the confounding petticoat. A long-lost memory emerged from the ether, and I remembered that I had set the petticoat aside after realizing that I had (again) sewed a pair of the panels in upside-down. I ripped them out, realigned them, and proceeded to sew them in … upside-down … again. I ripped them out one more time, laid them on the floor and thought about them for a good, long while. I then went about checking and rechecking each piece, and then writing “top” and “bottom” on each petticoat panel and then checking the labels one more time for good measure. I sewed them in one last time, and what do you know it but I finally got it right!


I then sewed the sleeves on the bodice and got to have the fun job of embellishing it with all the frilly lacy scrumptiousness I had held on to for such a purpose. Extra fabric from the bustle and apron remnants provided the perfect contrast for the decorative buttons down the front.


I completed the skirt and embellished it similarly to the bodice. I put together the bustle and the apron draperies, and installed the hardware necessary to hold them in place. Bit by bit everything was coming together until before I knew it, one sunny day in April I was finished!


And of course, dressing up ensued and many photographs were taken.


My sister was scandalized by this last photo, since I was clearly a Victorian prostitute with my lack of stockings and bloomers. So I made sure to have those ready for my gown's unveiling at Halloween in Salem, Massachusetts.


Amongst the denizens of Salem, my huge bustle was a big hit!


Ahh, the glory of it all.

But it wouldn’t have been a real procrastination project if I hadn’t procrastinated many months more before posting this description of it, sigh.

Friday, July 16, 2010

The OTHER Secret Project: REVEALED! - or also known as - The Wedding Lace Extravaganza

So when I would say before that "such and such a project started it ALL*" (here, and kinda here,). I was actually talking about this project. This lofty, inspiring, heart-warming, and utterly life-consuming project that is: The Wedding Lace.


About a year and a half ago, my best friend Meg asked me to be the maid of honor in her wedding. She was marrying her long-time boyfriend and another dear friend of mine, Jon. I was so thrilled I was literally speechless for a good 5 minutes, and it wasn't long before I knew I had to do something all out spectacularly wonderful to celebrate their union (besides throw a crazy bachelorette party!).

I soon decided what I was going to make as a wedding gift: hand-crocheted lace-edged handkerchiefs. One for Meg, one for me, one for her mother, one for each of the bridesmaids, and, fortunately for my sanity I stopped there.

It was entirely for this reason that I even attempted to learn how to crochet lace those many months ago. And thanks to my mother, The Complete Guide to Thread Crochet by Rita Weiss, and Fifty Beautiful Edgings by Terry Kimbrough, I was able, after a few months and many interesting test projects, to accomplish what I had set out to do.

The first step was to pick a lace pattern. The following pattern was my very first attempt, originally done in red and abandoned halfway through because I was too inexperienced to decipher the instructions without the careful guidance and hands-on-teaching of my mother. She patiently walked me through the first steps during a visit home, but as soon as I left I could no longer wade through the muddle myself (until I got the brilliant idea of calling her up at all hours of the night and day as my 24-hr crochet helpdesk). Later I reattempted this lace and was able to finish a length of it:


But it seemed to fussy for Meg. Good for someone else's wedding handkerchief, perhaps, but not hers. I tried another pattern which I quickly disregarded as inappropriate for handkerchiefs and turned into a headband instead.

The third pattern was the winner. It was just like Meg, lovely in its simple beauty (not like there is anything simple about Meg), and I knew would make the perfect handkerchiefs to celebrate her nuptials.


The next debate was about colors. White, ivory or ecru? How about slate blue, her wedding color? And the handkerchief fabric -- matching or contrast? Countless test pieces later...


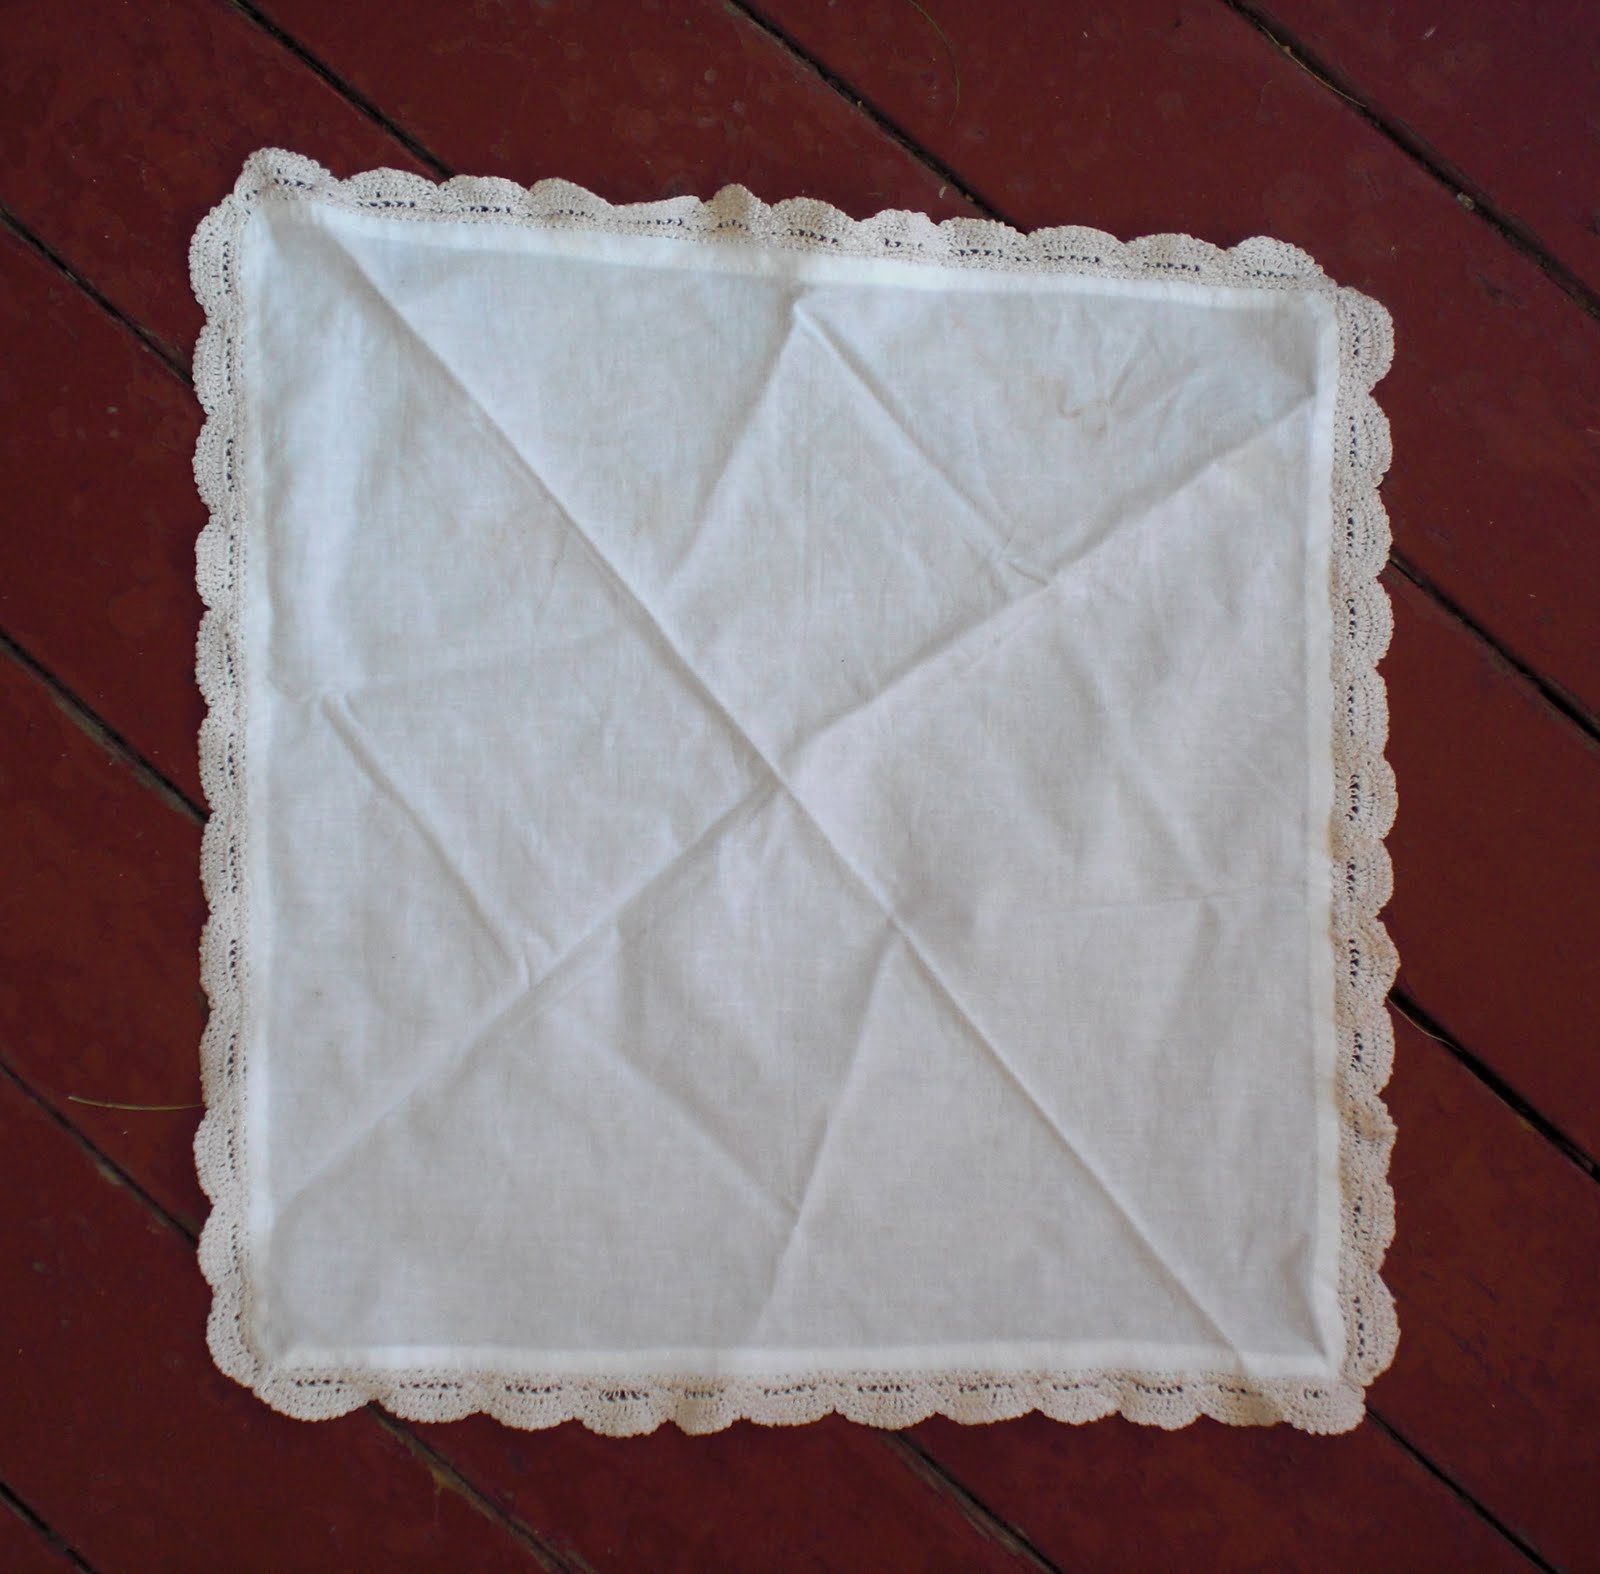
I chose ecru lace on thin white muslin fabric.


And then came the real work.

With the first twelve inch length of lace, I finally figured out how to read the pattern properly. As I finished each new length, some overly bulky lace taught me all about maintaining proper thread tension.

As the months progressed, I counted and recounted my pieces, with the constant internal monologue: "Four lengths per handkerchief. Six handkerchiefs makes twenty-four lengths. Seven lengths finished, so the lace for one and three-quarters of a handkerchief is done. Seven months to the wedding, seventeen lengths of lace to go." When I was working at an efficient pace, I could finish a single length of twelve-inch lace in four hours.

But the months passed quickly, and construction was pretty slow since I was reluctant to bring the crocheting to the rig to work on in my downtime, fearing dirty hands and smudged lace. I finished all of the lace just over a month before the wedding date. Then I washed and blocked them all with stainless steel pins on my ironing board.


I purchased some high-quality, old-fashioned muslin, machine-hemmed some squares, and began sewing. Each length of lace. One at a time. By. Hand.


And all the while this was going on, I was in the process of selling all my furniture, packing up the rest of my belongings, and moving my entire life northward from Louisiana to Massachusetts (with stops in Florida & Pennsylvania along the way). By the time I had reached Boston, I had four handkerchiefs left to finish. By the time I made it to Meg's parents' house a few days before the blessed event, I had one and one half undone. By the night before the wedding, I was still had a two lengths left to sew on the final handerchief. So as Meg's father and aunt caught up on work they were missing, and Meg and Jon talked in the kitchen till one o'clock in the morning, I sewed and sewed and sewed, ducking my project out of sight should either of the couple or the bride's mother happen to wander by.

Huzzah! I finished them all in time. I did not have the luxury of an extra day to block them, so I used a hot iron with plenty of steam instead. It served its purpose admirably, and the handkerchiefs were folded, wrapped, and packed in my bag with the other 10 million things I had to take to the wedding.

I presented each lady with her handkerchief just before we all got dressed, and was just thrilled to see everyone enjoy my work. I had so much fun at Meg's wedding, and was happy just to have given her something to remind her of it.


And just for good measure, here's a small gallery of lace-handkerchief "money shots". It's enough to make one drool!


Haha, I ended up with the runt of the litter. I realized too late that the hastily-hemmed muslin was more trapezoidal than square, and I couldn't bear giving it as a gift to anyone. Regardless, it always makes me happy to see it (and helpfully wiped away a tear here and there that weekend).


* Author's Note: By "All", I have of course been referring to this blog and many of the projects described herein. To go back to the beginning of my craft life I would have to go all the way back to the dress I made at age twelve out of American Flag-printed calico whose pattern I traced by literally penciling an outline of another dress laid on the floor, and then stitched the entire thing together by hand. Unfortunately no evidence, neither physical or photographic remains of this historic piece, so you'll just have to take my word for it.